
Garlic Parmesan Pierogies
These have become one of my go-to side dishes when I need something fast that everyone at the table will actually eat. My kids ask for them constantly and they take less than 25 minutes from freezer to table.
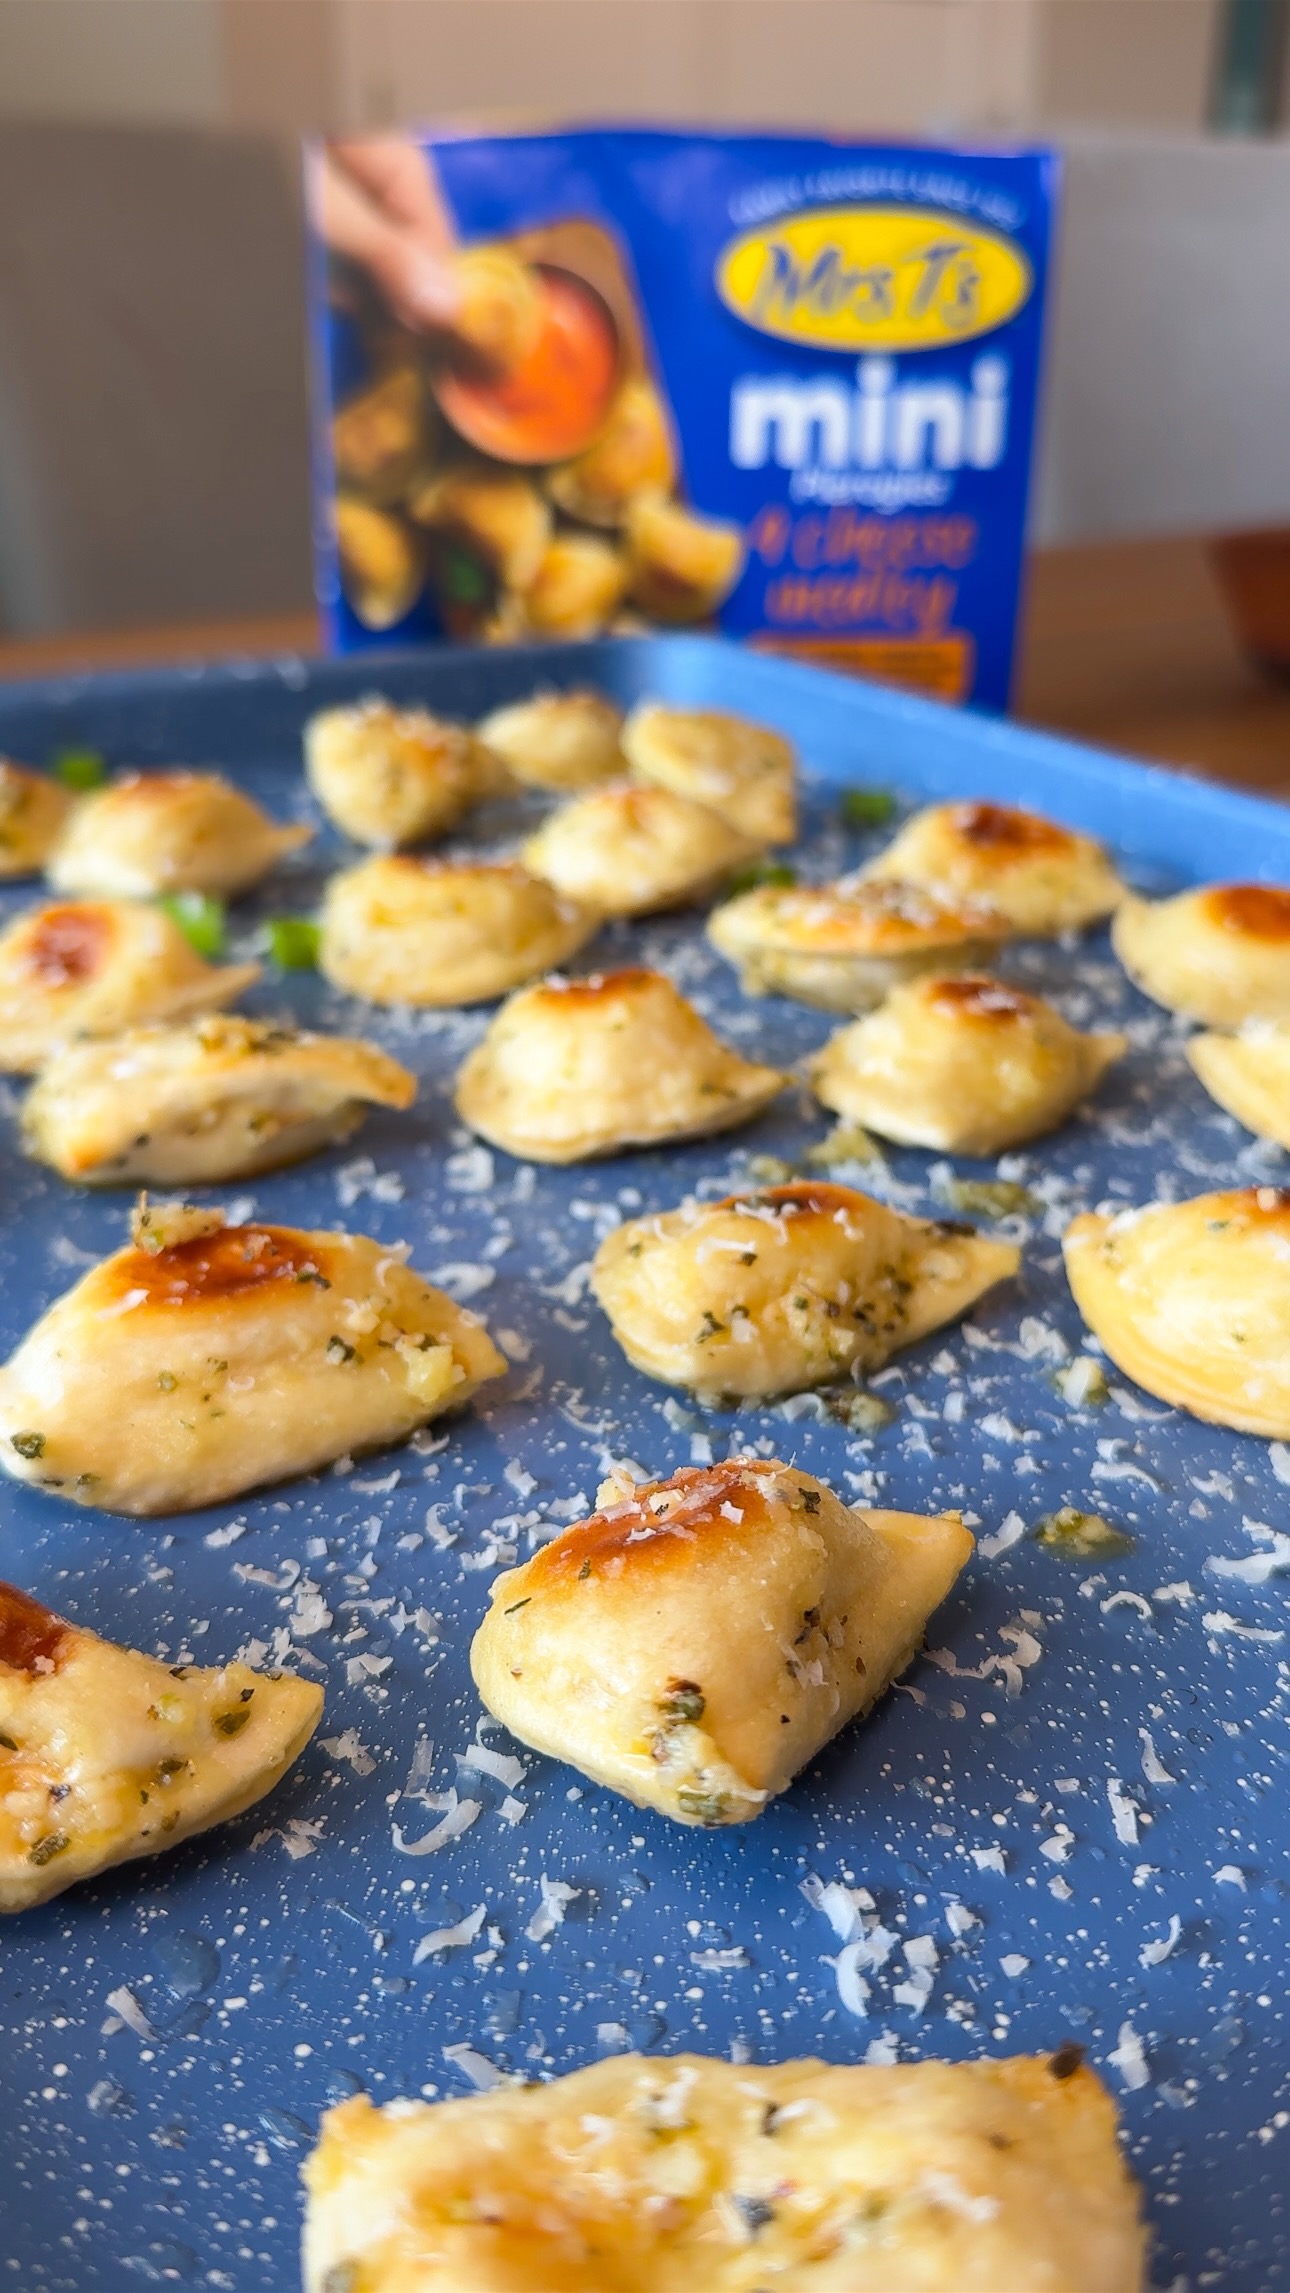
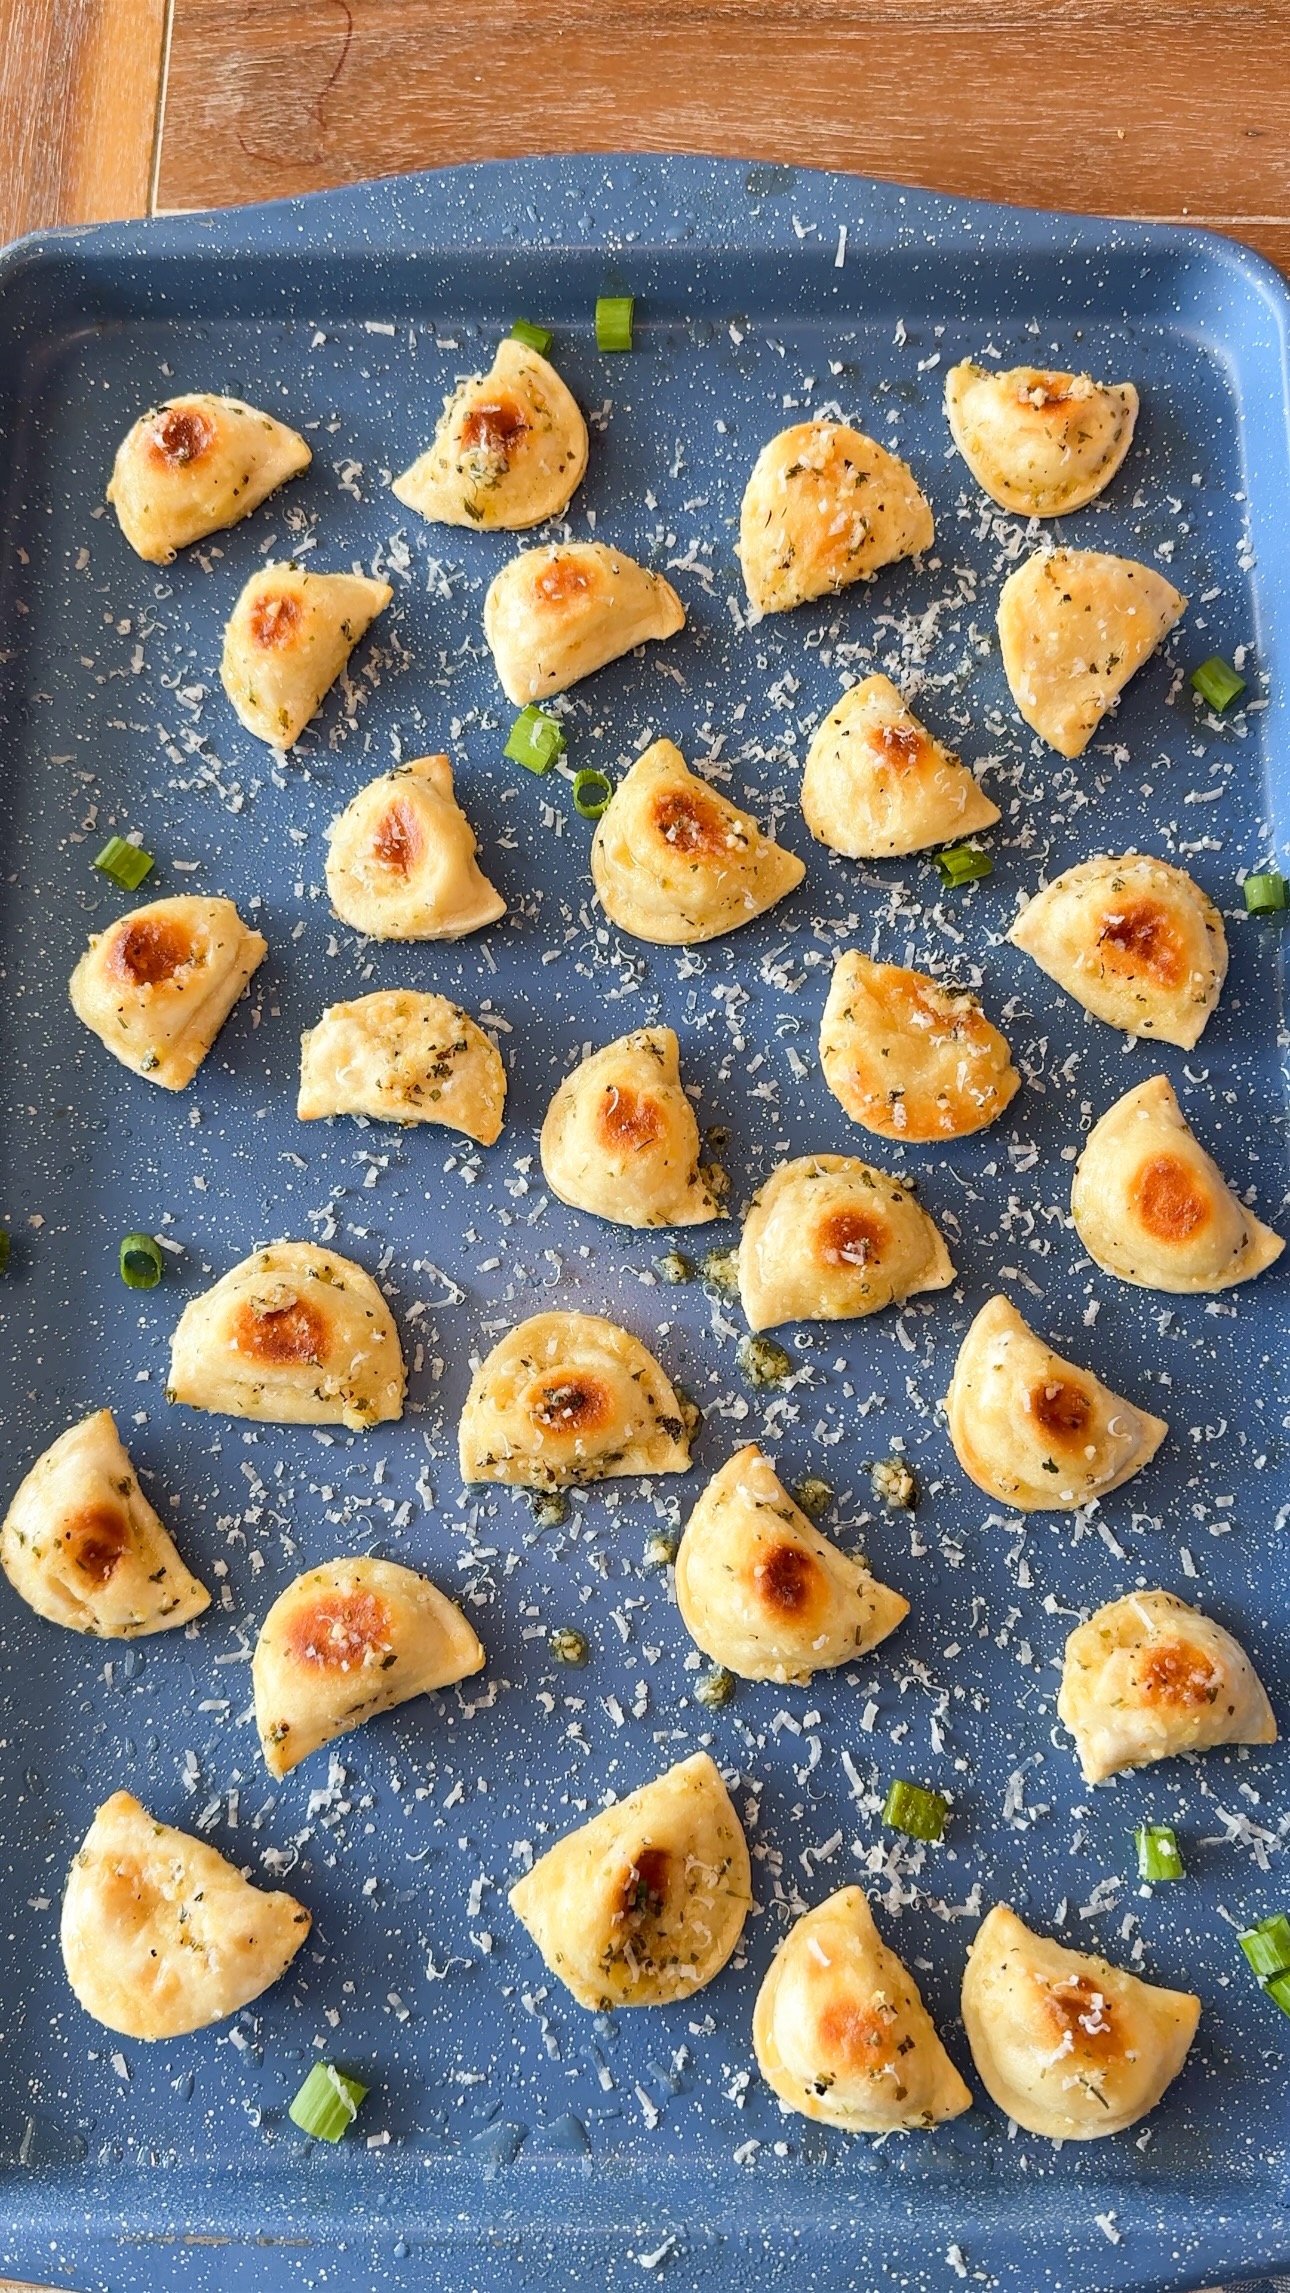
These garlic Parmesan pierogies take a bag of Mrs. T's Frozen Mini Pierogies and turn them into something that tastes genuinely special with almost no effort. Baked at 400°F until golden and slightly crispy on both sides, then tossed immediately in a warm garlic Parmesan butter sauce while they are still hot so every surface gets coated. Finished with extra Parmesan and ready in 25 minutes. A side dish, an appetizer, or honestly just dinner on a busy night.
Please note that this post is sponsored by Mrs.T's Pierogies, but all opinions are my own.
Why You'll Love This Recipe
Five minutes of prep and the oven does everything else. These are genuinely the easiest thing you can make that tastes like you actually tried.
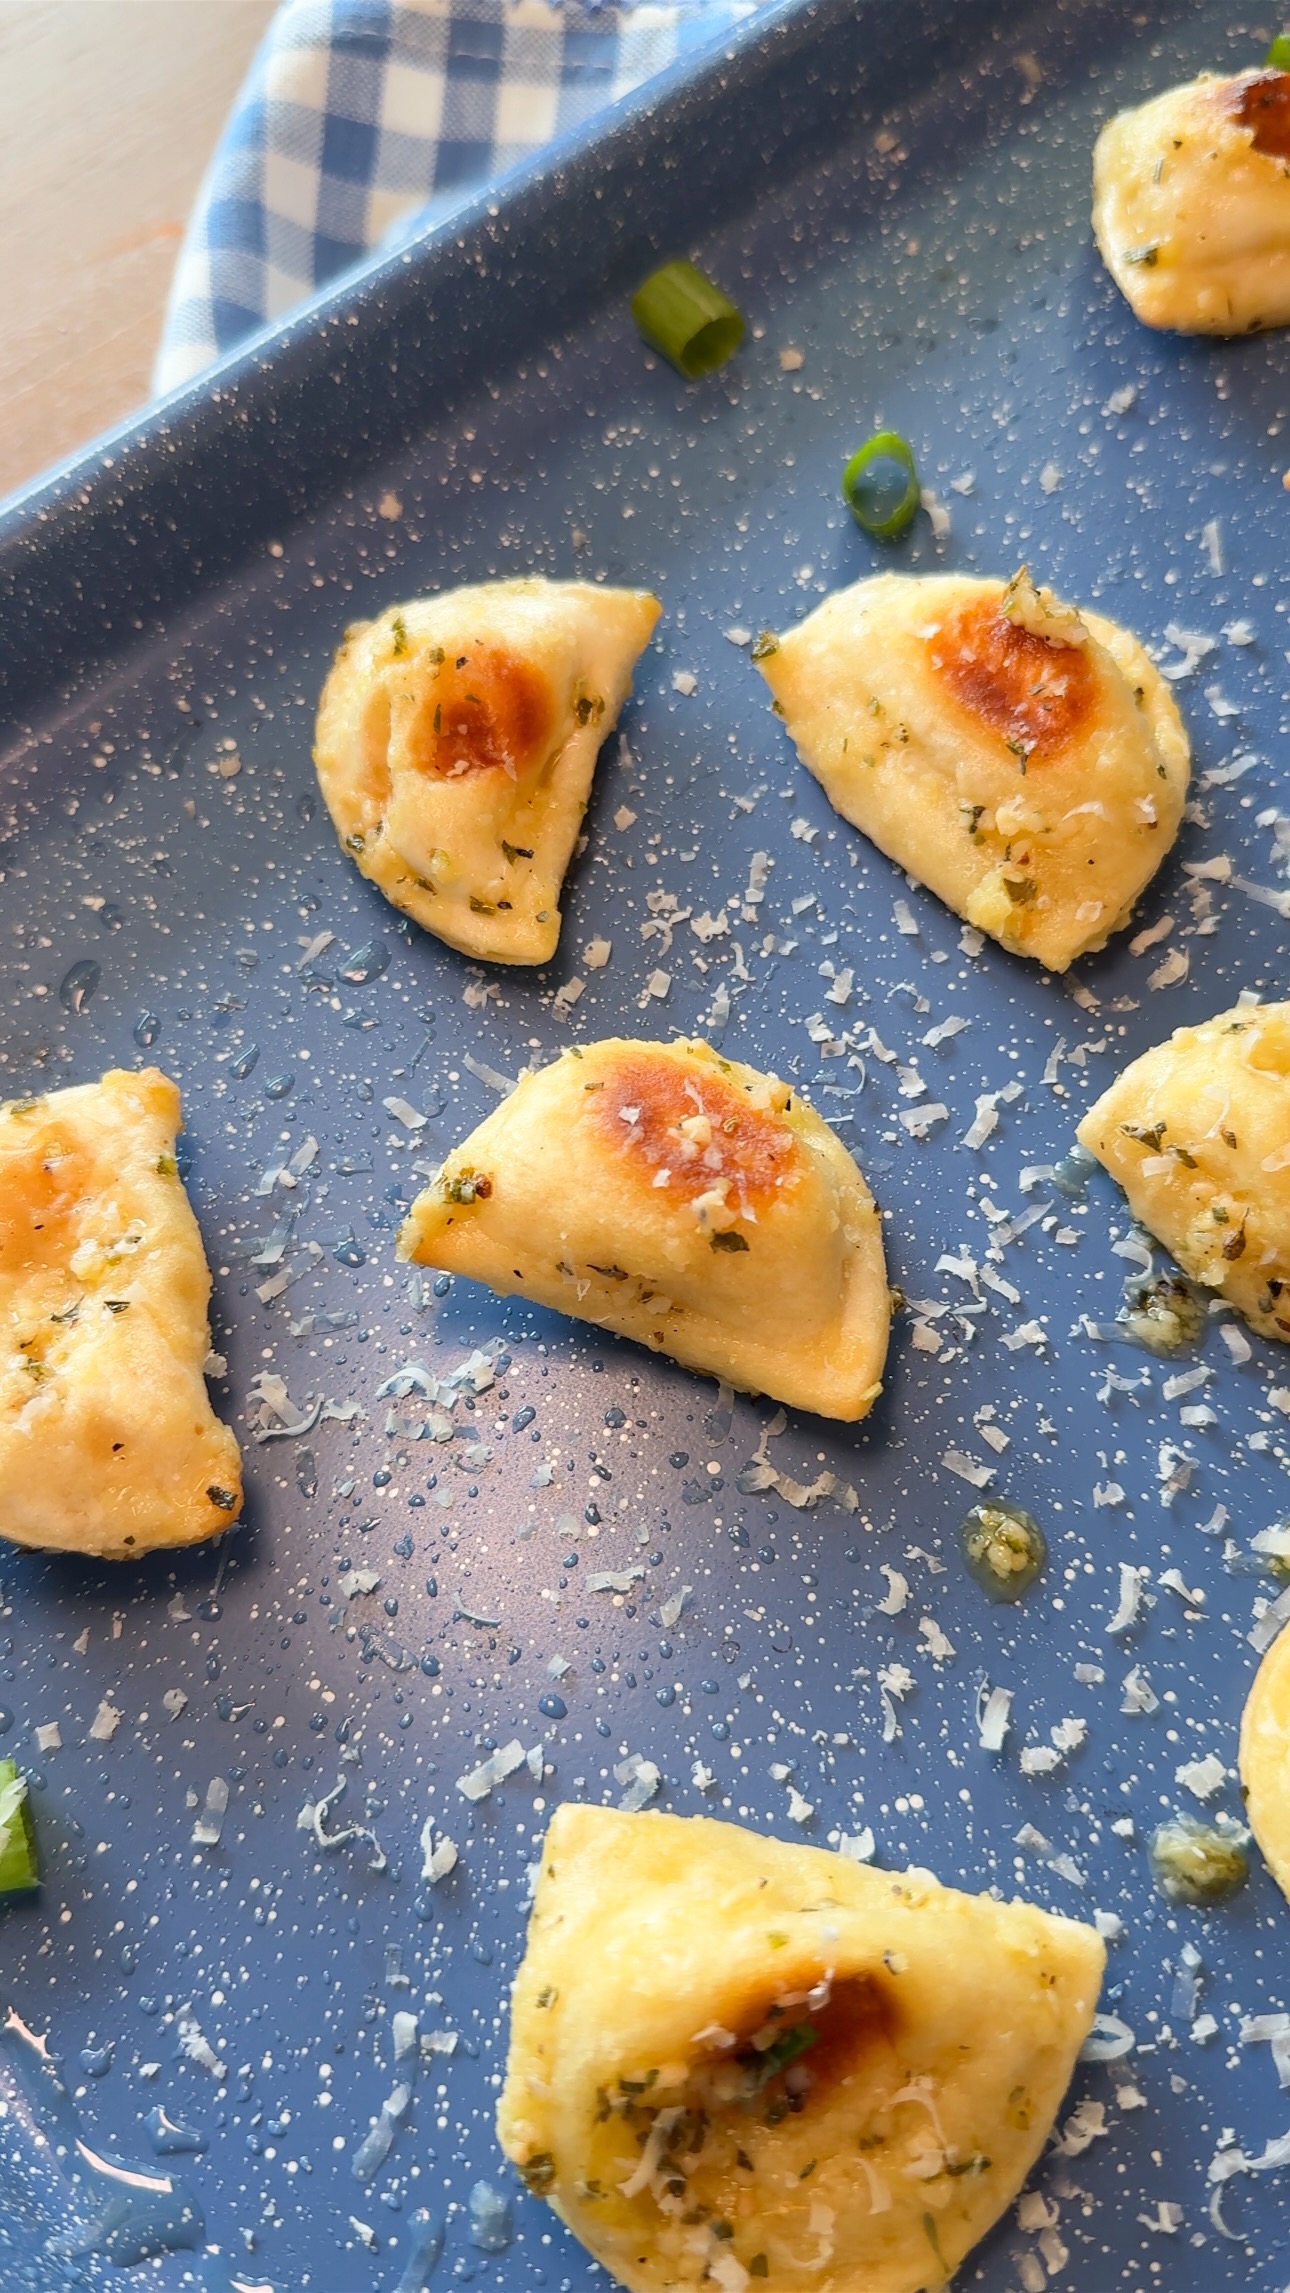
Baking the pierogies instead of boiling produces a slightly crispy, golden exterior that makes them dramatically more interesting than a soft boiled version.
Tossing them in the garlic Parmesan butter immediately out of the oven while they are still hot is what makes the sauce coat every surface rather than sliding off.
Ingredients Needed to Make Garlic Parmesan Pierogies
The Pierogies
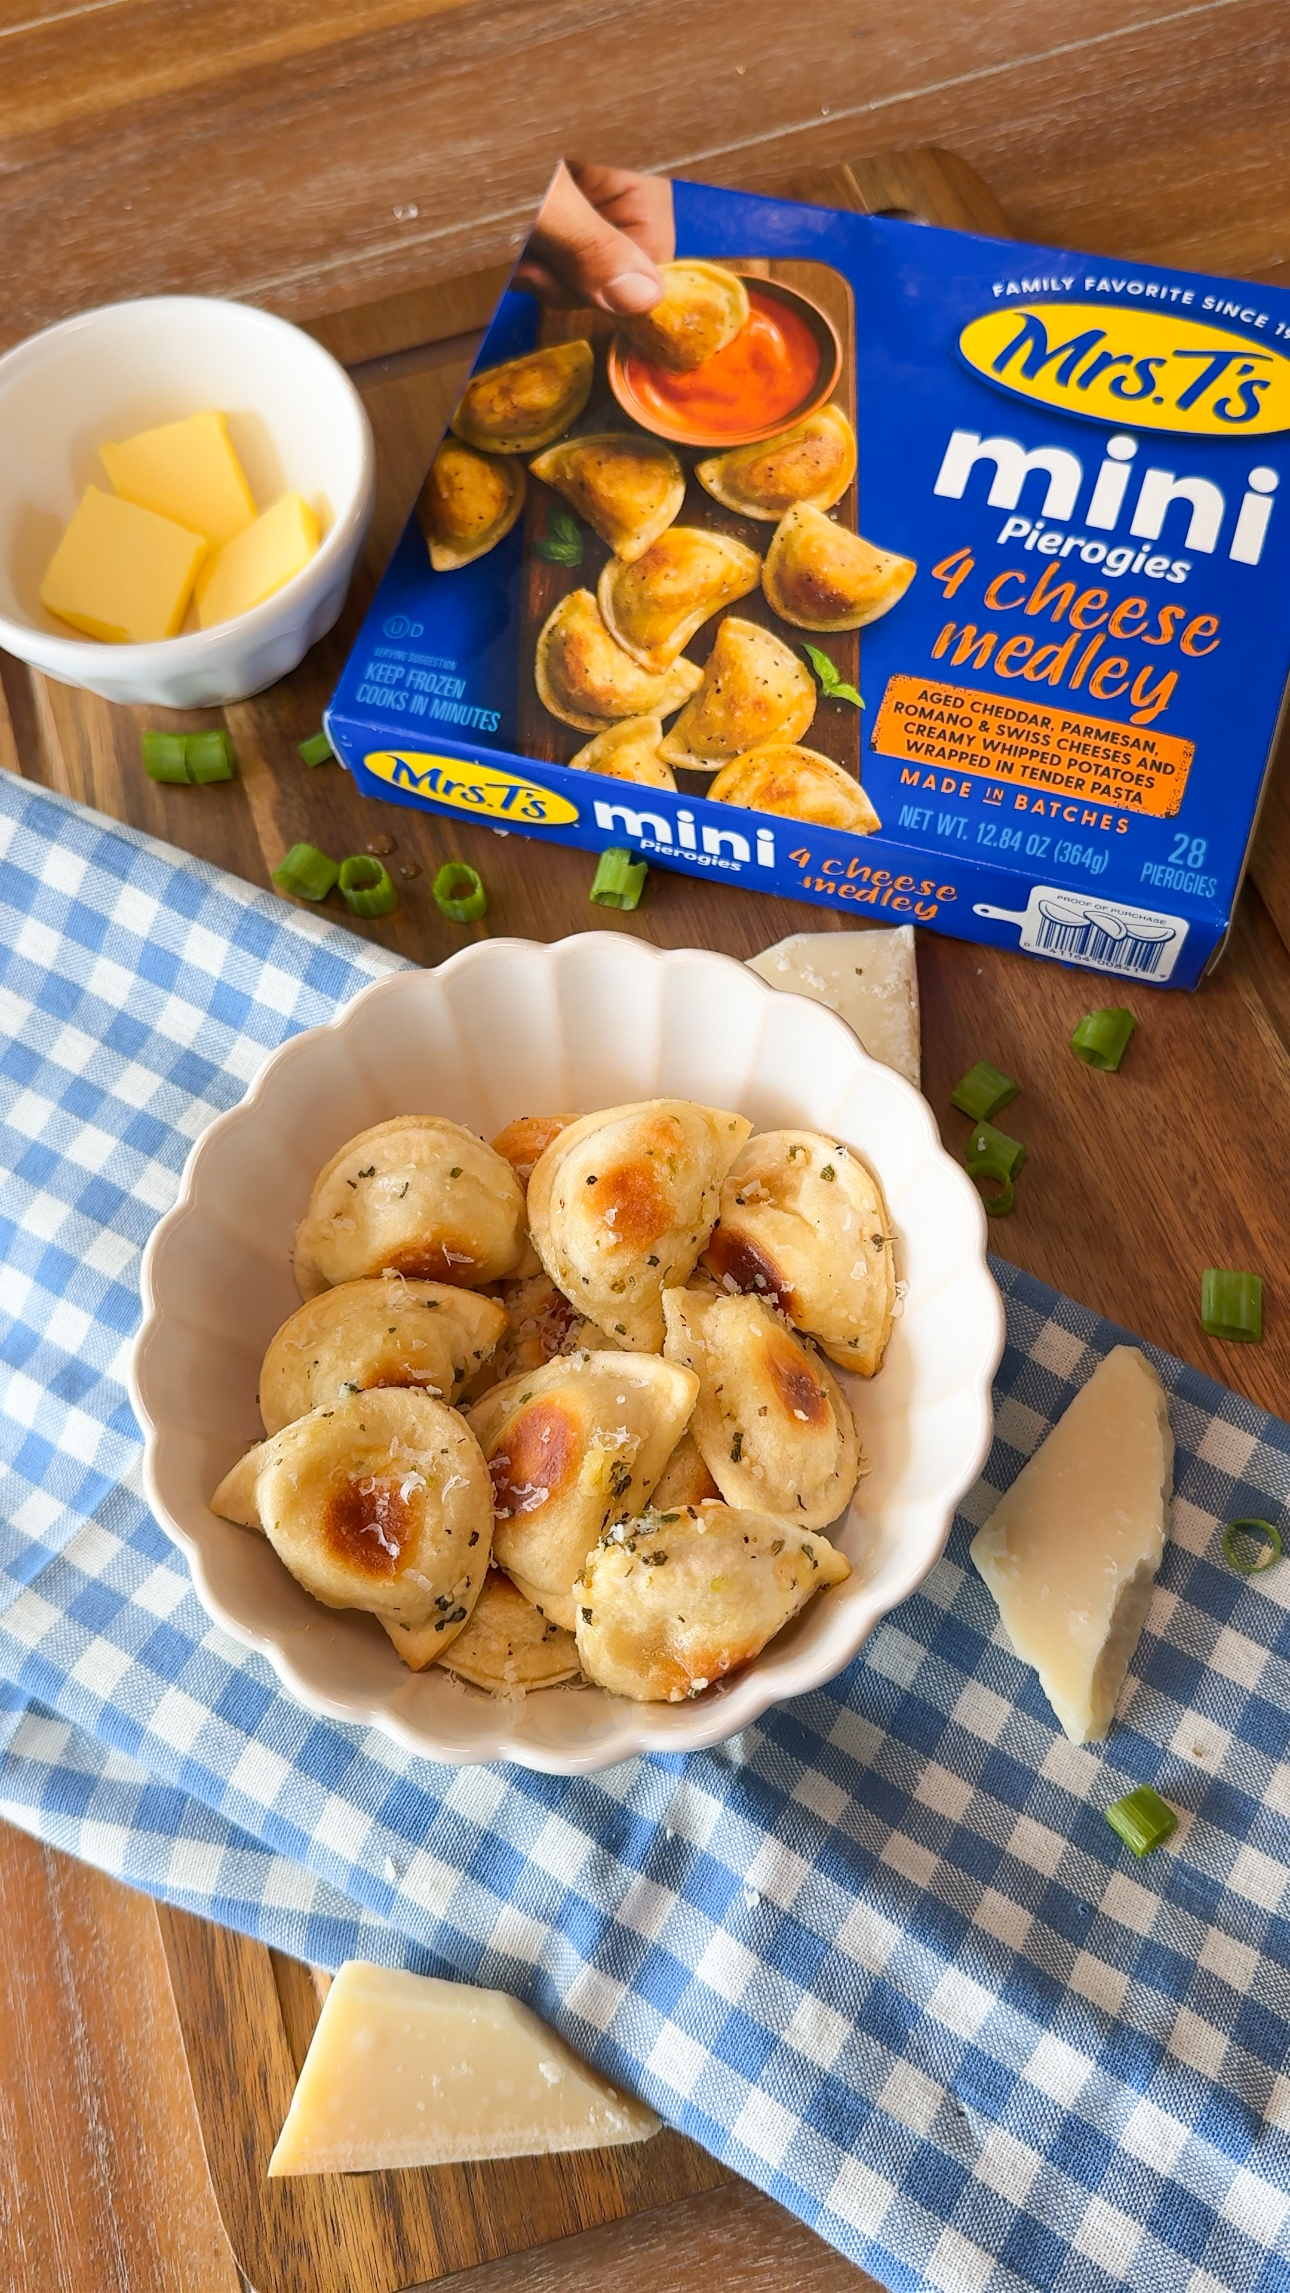
Mrs. T's Mini 4 Cheese Medley Pierogies are the specifically recommended brand for their consistent quality, widely available size, and cheese filling that pairs naturally with the garlic Parmesan butter sauce. The mini size bakes more evenly than the full-size version and produces a great crust-to-filling ratio in every bite.
The Garlic Parmesan Butter Sauce
Melted unsalted butter is the rich, coating base. Freshly grated Parmesan melts into the butter and adds a salty, nutty depth. Minced garlic adds a savory punch. Italian seasoning, dried oregano, and dried parsley add a herby, slightly Mediterranean character that pairs naturally with the cheese filling of the pierogies.
How to Make Garlic Parmesan Pierogies
One baking sheet, one bowl, 25 minutes.
Step 1: Bake the Pierogies
Preheat the oven to 400°F. Spread the frozen pierogies in a single even layer on a lightly greased 9x13 baking dish or baking sheet. Spray the tops lightly with olive oil. Bake for 16 to 18 minutes, flipping each pierogy carefully halfway through, until both sides are golden and slightly crispy.
Step 2: Make the Garlic Parmesan Butter
While the pierogies bake, melt the butter in a large mixing bowl. Add the minced garlic, freshly grated Parmesan, Italian seasoning, oregano, parsley, salt, and pepper. Stir until the Parmesan is evenly distributed throughout the butter and everything is well combined.
Step 3: Toss and Serve
The moment the pierogies come out of the oven, transfer them directly to the garlic Parmesan butter bowl while they are still hot. Toss gently but thoroughly until every pierogy is evenly coated in the sauce. Transfer to a serving dish, sprinkle with additional freshly grated Parmesan, and serve immediately.
Storing and Reheating
Store in a sealed airtight container in the refrigerator for up to 3 days. Reheat in the air fryer at 375°F for 4 to 5 minutes or in a 375°F oven for 8 minutes to restore some of the crispy exterior. The microwave works in 30-second intervals but softens the exterior. These are best eaten fresh and the texture on day one is significantly better than reheated.
How to Serve Garlic Parmesan Pierogies
Serve immediately in a wide bowl or on a platter with extra Parmesan grated over the top and a small bowl of sour cream alongside for dipping. Fresh chopped parsley scattered over the top adds a finishing color and freshness. For a complete easy dinner, serve alongside the One Pan Lazy Lasagna for a comfort food table that covers both a hearty pasta main and a crispy, cheesy side without any overlap.
Why toss them in the butter while still hot?
Hot pierogies fresh from the oven have a slightly porous, slightly tacky surface that absorbs and holds the garlic Parmesan butter much better than cooled pierogies. When they cool the exterior firms and the sauce slides off rather than coating. The immediate hot toss is what produces the evenly coated, glossy, butter-saturated result rather than pierogies sitting in a pool of butter at the bottom of the bowl.
Can I make these in an air fryer instead of the oven?
Yes. Arrange the frozen pierogies in a single layer in the air fryer basket and spray lightly with olive oil. Air fry at 400°F for 10 to 12 minutes, flipping halfway, until golden and slightly crispy. Transfer immediately to the garlic Parmesan butter bowl and toss as directed. The air fryer produces an even crispier result than the oven method and in less time.
What can I serve alongside these for a complete meal?
Sour cream is the classic accompaniment that cuts through the richness of the garlic butter. A simple green salad with a light vinaigrette adds freshness. Kielbasa sliced and cooked alongside makes this a complete protein-forward dinner. Steamed broccoli or roasted asparagus alongside add a vegetable component that pairs naturally with the garlic Parmesan flavors throughout the pierogies.
Garlic Parmesan Pierogies
Ingredients
Method
- First, preheat the oven to 400°F.
- Next, spread the frozen Mrs. T's Pierogies into an even layer on a 13 x 9-inch baking dish or baking sheet. Lightly spray the tops with olive oil.
- Bake for 16-18 minutes, flipping the pierogies halfway through so both sides become evenly golden and crispy.
- Meanwhile, melt the butter in a large mixing bowl. Add the garlic, Parmesan cheese, and remaining seasonings, then stir until everything is well combined.
- As soon as the pierogies come out of the oven, transfer them directly to the bowl with the garlic Parmesan butter mixture while they're still hot. Gently toss until each pierogy is evenly coated.
- Finally, sprinkle with additional Parmesan cheese before serving.
This was so good! We loved the flavor combination of the garlic and Parmesan. Will definitely be making again